

This post is about how we re did a fully upholstered sofa chair. The procedure will not be the same for all chairs, but this should give you an idea to get started. This is not a step by step guide kind of post.
I have realized that I am starting every DIY blog post with the sentence “I have been wanting to do this for a while” so here goes: I have been really wanting to redo a fully upholstered sofa chair or a sofa and then this opportunity showed up. I needed a single seat for a budget makeover and everything I saw was gobbling up the entire budget. Then I happened to be window shopping on the Gozefo website and I chanced upon this one.
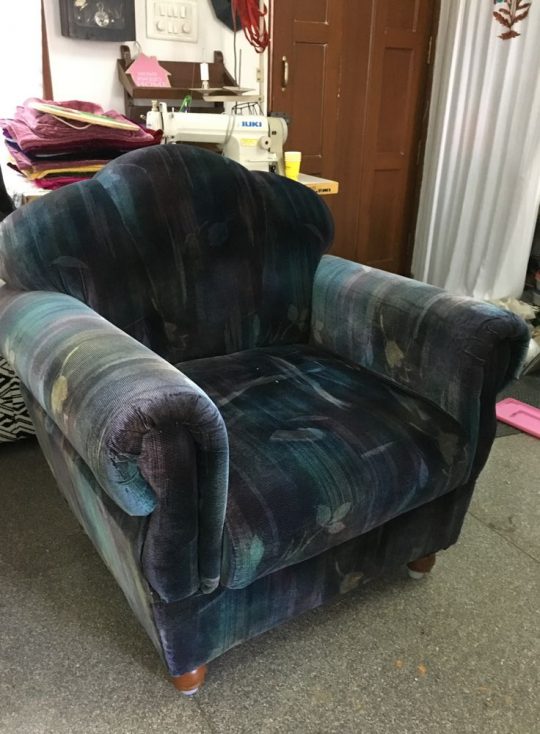
The upholstery on the seat was pretty outdated. Multicolored velvet, damaged in one place, but the structure was really good and similar to what I was looking for and it was up on sale for 2500/- so it wouldn’t pinch to experiment on it.
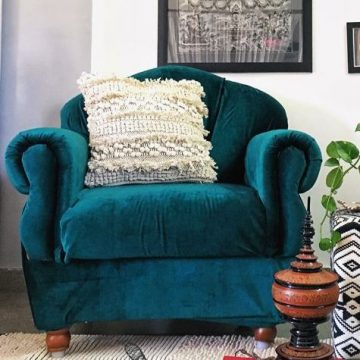
Initially I was thinking I will do an inexpensive upholstery fabric, but if I was going to put in the time and the effort, I might as well buy the best quality that I need. We did a deep green velvet for this one. And now I want to reupholster the whole world in deep green velvet. (I also have some hot pink velvet, we will reupholster the world in hot pink after I use that one, now lets just stick with green)
If you haven’t done any kind of upholstery before I suggest you do the easy ones first. I have a blog post dedicated to that, click here to go to that post. This is a wee bit harder. But if you are game, choose an inexpensive chair and get going.
Moving on!
What you will need for the project.
- One old fully upholstered chair
- Upholstery Fabric – we used 4 mts for this one. (There is a tiny bit left over, nothing significant)
- Scissors – a good pair
- Tools: Staple gun & pins, hammer, pliers if the nails are not coming off.
- SR glue – If you have to stick fabric to the wood.
- And a whole lot of patience
Lets get to work!
The first and the most important step is to rip the old upholstery apart. This is the step where you need to pay the maximum effort. Its like getting dressed and undressing. What was put on last, comes off first 😀
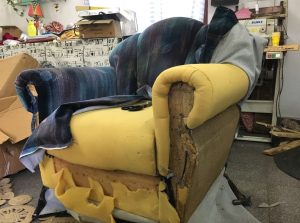
In most cases, the seat, armrest and backrest go in first and the back panel, side panels and the front panel goes in last. So I started by ripping the front panel first. If you are new to this I suggest you take something off and take a picture. That way you can play it backwards when you are putting it back.
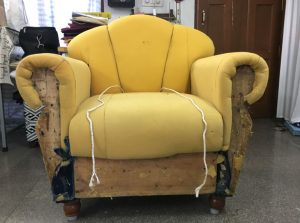
When I removed the old fabric, I was so relieved that the foam inside was in very good condition. So I could go ahead and deal with re-covering it. That wasn’t the case when I re-did my dining chairs. When i ripped the old upholstery, I found a pile of leftover pieces of foam that the upholstery guy had picked from his waste pile. Husband had given it to the workshop to redo and was taken for a ride i guess. So I had to buy some foam, cut it to size and then do the upholstery.
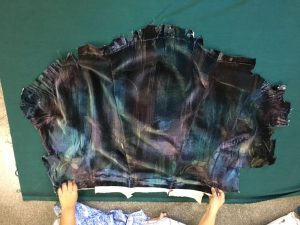
The backrest came off pretty well, so I used the old fabric as a template. The armrests was a bit of an issue, so I used a piece of waste cloth for measurement and then used it as a template. The seat is the most easy one to measure and cut.
Once the seat, backrest and armrests are in, the rest of the job is the finishing up only. To get a strait seam, I used a strip of cardboard in between the wood and the fabric while putting the front and size panels. You line the fabric inside out, place the cardboard and staple on the cardboard and then drop it down like a parda and staple the other end to the bottom. I dont know how else to explain this, you will know when you see the video. The cardboard part I learnt by watching several youtube videos and I found the same thing while the ripped this thing apart.
Where two edges meet, I finished it off with sewing the sides and it was done.
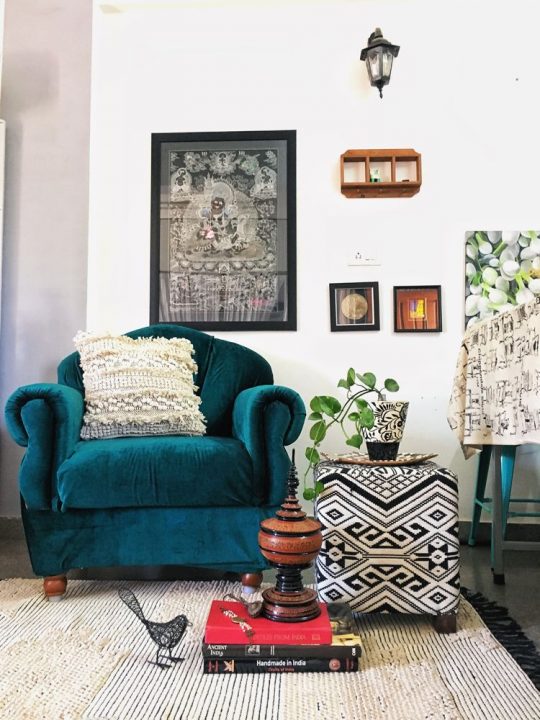
I am very pleased with how it turned out, but there were some flaws that are not obvious.
- Its DIY and you cant really expect it to look professionally done. But you wont know until you closely examine.
- When using velvet, its important to know the direction in which the fabric is smooth. Especially important for armrest.
- The seat, on one side, I was not able to staple, so its just tightly tucked in.
- Its not a one person job, we were two people ripping it apart and a piece like this needs to be constantly shifted to staple the bottom and stuff, so dont do it alone.
What do you think? Would you try?
Leave a Reply