
")
This post is about how you can Diy Stencil Furniture, where to buy the stencils and the techniques that will make it look very professional and tidy.
When my head is all wound up and I am unable to focus on what I should, I turn to DIY. I always say that people who DIY can never stay sad or confused for long. All it takes is for you to pick up your DIY tools, get to work and the stuff in your brain sorts itself out. This was one such DIY.
I was having so much trouble focusing on creating a few mood boards, I knew exactly what I wanted but somehow the vision was not completely coming forward in my mind. (This year I have been at my creative worst, have said No to work more than I have said yes, and for the first time, have refunded advances because my brain was too wound up) When that happens I set it aside and get my hands into creating something. Creativity cannot be forced, if the vision is not coming through in the mood board, I don’t sit at the laptop and force it, the outcome of that won’t be half as good. Most of the time, instead of stressing over it, taking a break from it and focusing the energies on something else kind of rejuvenates my creative side and I am able to do a much better job.
Back to the DIY!
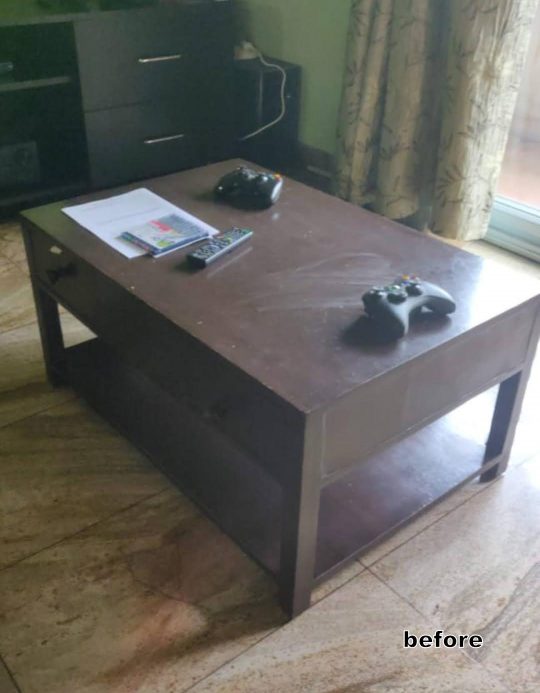
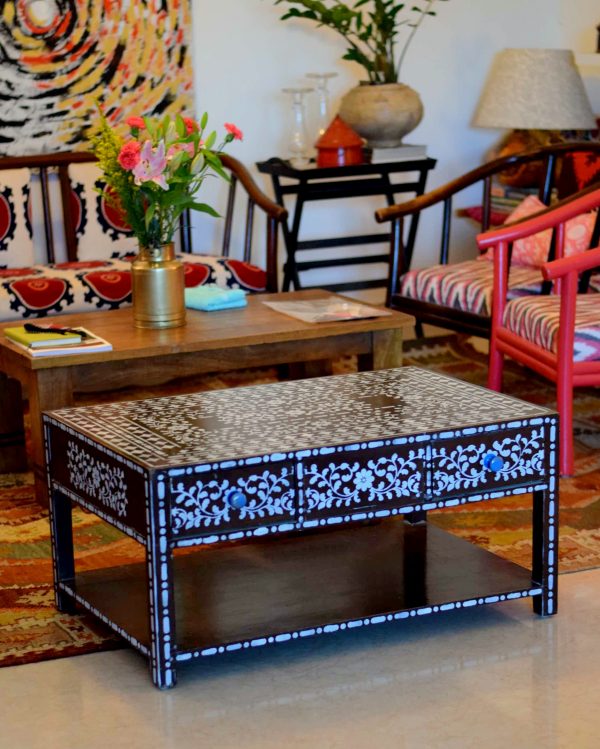
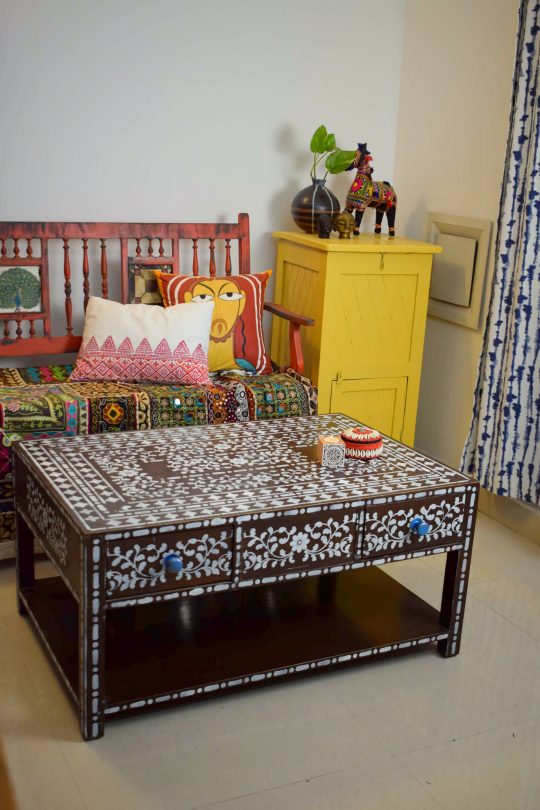
This coffee table is made of plywood and polished veneer(which is a thin sheet of wood). The finish for veneer furniture is the same as solid wood which is polishing. So to prep, I cleaned the surface and very lightly sanded it. Then wiped it and it was ready for stenciling.

Stenciling furniture is easy!
Materials used:
- A piece of furniture to paint on
- Stencil Set – Available on Amazon (Click HERE) another design you could use is THIS. Both these give you the faux bone inlay look. you can mix and match them any way you like.
- Artists Acrylic paint (I used Camel in the color Titanium White 423) I don’t use the one that comes in a bottle that is used by kids for craft projects because the consistency of the paint is very thin.
- A two-inch foam roller.
- Scotch tape to hold the ends of the stencil in place.
- An empty plate (to roll your roller on before stenciling)
- An old Amazon plastic cover (You’ll see why)
- A wet rag to clean spills.
- Water-based PU
How to DIY Stencil Furniture?
While stenciling anything is child play, here are a few things that I think will take it from “craft project” to “looks professionally done”, if you understand what I mean. When someone looks at your project first, they should be like “wow! I did not think that’s a DIY project at all!”. And that happens when you do just a 10% extra.
Process!
- To prep the table, I did a very light sand with 220 grit sandpaper to rough the surface and was careful not to make any hard scratches.
- The stencil needs to be firmly placed on the surface. I used scotch tape to secure two ends for small stencils and 3 for large size ones. Also after using the stencil 2 or 3 times, wipe the underside with a piece of cloth to get rid of any paint residue so you don’t get any bleeds.
- Don’t thin the paint too much. The paint should ideally be dosa batter consistency. Watery paint causes bleed and also the stenciled design doesn’t turn out very sharp and clear. If you are using chalk paint, just one spray of water will do before you roll the roller in it.
- The foam roller works the best when you are doing large projects like these. If it’s a tiny project, feel free to use some sponge and dab-dab, but for large pieces of furniture, when you have lots of stencils to paint, you want your hands to be clean so that the work is cleaner. After rolling the foam roller in the paint, roll it on an empty plate a few times to get rid of excess and have even consistency. Then roll the paint on the stencil. Once you have covered it, slowly lift the stencil so you don’t disturb the paint.

Finishing!
- Keep your wet rag and earbuds handy to correct any bleeds. When it’s done immediately, it is easy to correct and the paint wipes right off. It also gives a neater finish.
- If you are doing a continuous pattern, don’t stencil them one after the other. You need to let your paint dry before you place it back on the painted surface, else it will smudge. You can do opposite sides, giving it enough time to dry before you place the stencil on it again. Watch the videos of the process on my Pinterest idea pin HERE.
- Don’t be in a hurry to finish. Doing a good piece takes time and give it that time. This coffee table took me 4 hours, 2 hours on two different days. Good work cannot be rushed.
- And finally, let it dry for a full day ( two full days if the weather is gloomy), and then finish with two coats of PU.
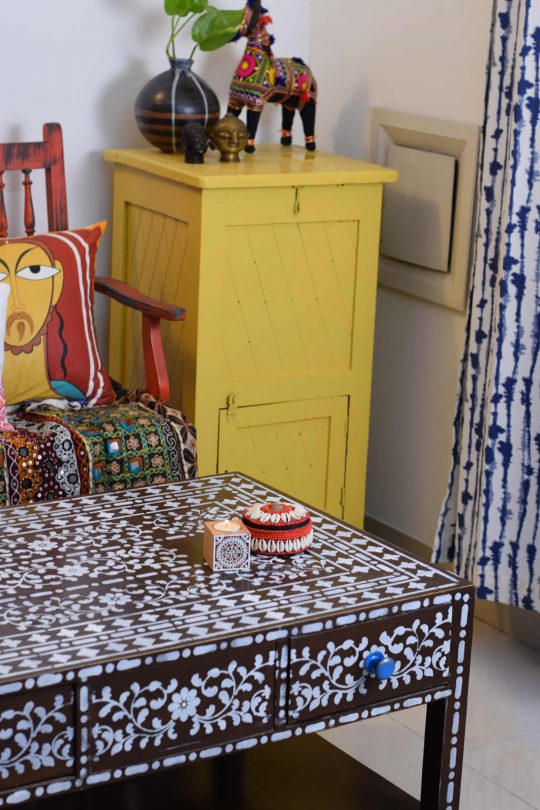
- I also pasted some Fabindia wrapping paper inside the drawers for a surprise element.

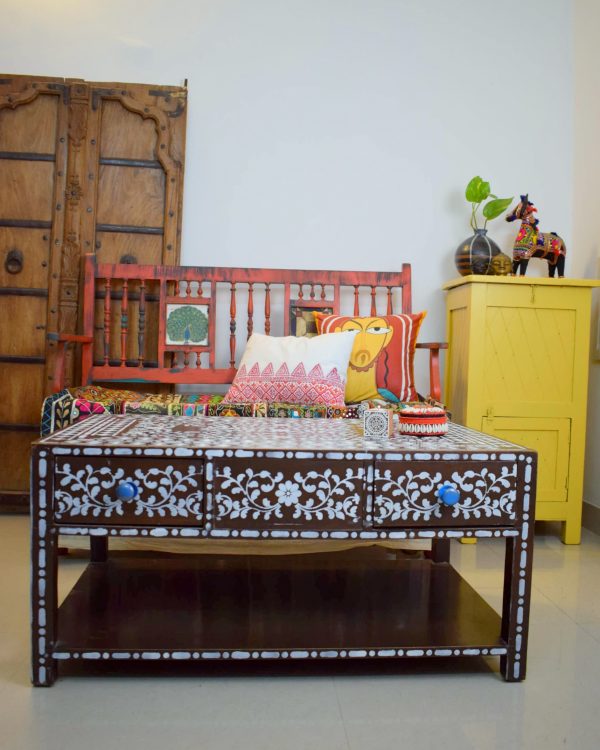
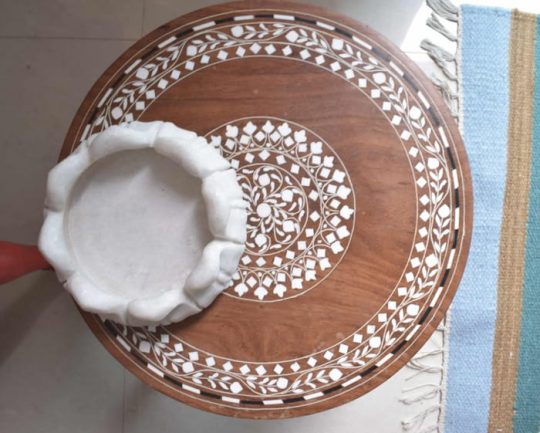
DIY stencil furniture is one of the best ways of turning a plain boring surface and adding pattern and color to it. Especially if you are doing a large piece, the impact is phenomenal. Here is a picture of a real inlay workpiece. I also have a blog post on how to make your own stencils HERE.
Painting furniture is not only a hobby that saves you money and makes your home looks pretty, but also relaxes you and relieves stress. Do check out the Furniture Painting course and don’t miss the festival deal.
Leave a Reply