

We’ve been experimenting a lot with different things in the studio. Trying our hands at redoing a fully upholstered chair, DIY with supplies that are easily available in the Indian household. The DIY’s featured here are for our upcoming living room makeover. Initially I was planning to post these DIY’s separately, then I realized they are so easy and dont really count as one full post. So here are three super easy DIYs for your boho home.
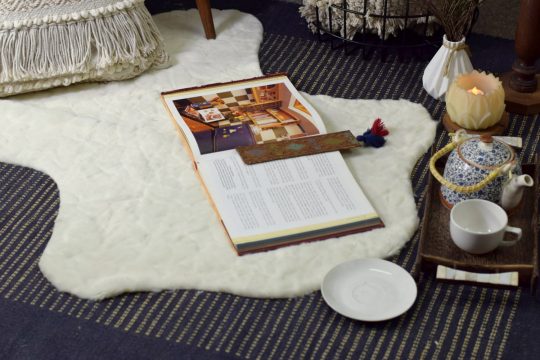
- DIY Faux Sheep Skin Rug
We’ve seen these is so many international magazines and in homes outside India, but never really come across them here. I wanted to add this for a living room makeover and since we cannot find them here, we decided to make our own.
What you will need:
- Off white faux fur, the kind that is used to make plush toys. One meter makes two.
- Scissors (nothing happens in the DIY world without scissors)
- Fabric glue
How we do it?
- A sheep skin rug needs to be big enough to drape a chair, max 3 feet wide, so measure 1.5 feet and fold into half. Length will be almost twice the width.
- Sheepskin needs to have a shape. a head, two front legs, two hind legs and tail. So the first step is to draw a head, two legs and a tail. I did this freehand by looking at references online.
- Once the shape is drawn, cut it out with a good pair of scissors. When you open it and lay it on the ground, it should look like a flat animal stretched on the ground.
- Most faux fur peels off from the ends and to fix that you get some kind of spray abroad, but we don’t get them here. So we need to find our own Jugaad. We’ve used fabric glue on all ends to keep it in place and it works very well.
- Simply leave a trial of glue on the edge for about 3 to 4 inches, let it dry fully and then do another 4 inches making sure you cover all around the circumference. Let it dry overnight and you’ve got yourself some mean faux sheepskin rug.
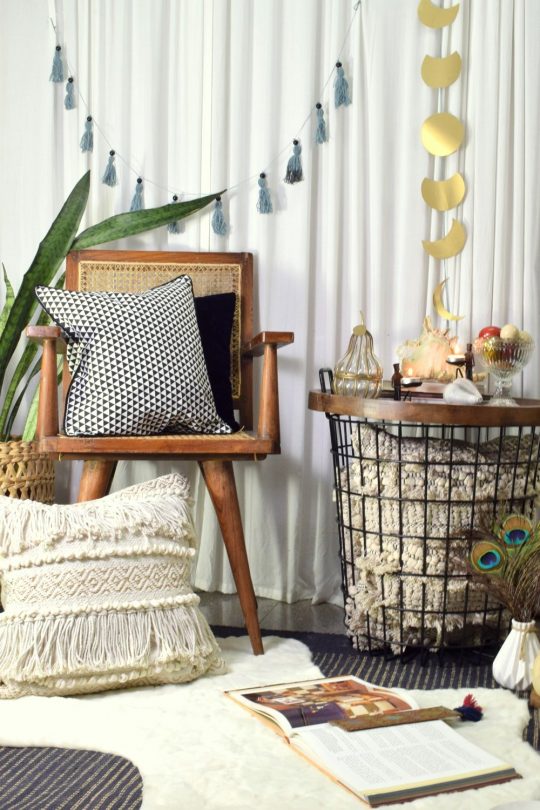
2. DIY Tassel Garland.
This is another easy but super cute DIY.
What you will need?
- Yarn, we’ve used grey color one. You can do one color or multicolored.
- A Template to wrap the yarn around. Ive used a stack of envelopes.
- Scissors (Making its appearance every time)
- Beads and acrylic color (optional)
How we do it?
- Wrap the yarn around the template, (not very tightly) about 25 times. Count is needed to get identical looking tassels.
- Tie one end with a piece of yarn and cut the other end. (A video is going to follow soon, for some reason its taking forever)
- Then tie another piece of yarn just below the first knot to give it a gathered feel.
- Make as many as you want and decorate it with beads or pompoms.
- Then attach it to a long piece of yarn at equal distances to make a garland.
- I dipped one tassel half into diluted black acrylic color to give it a dip dyed effect. It just gives it an unexpected twist.
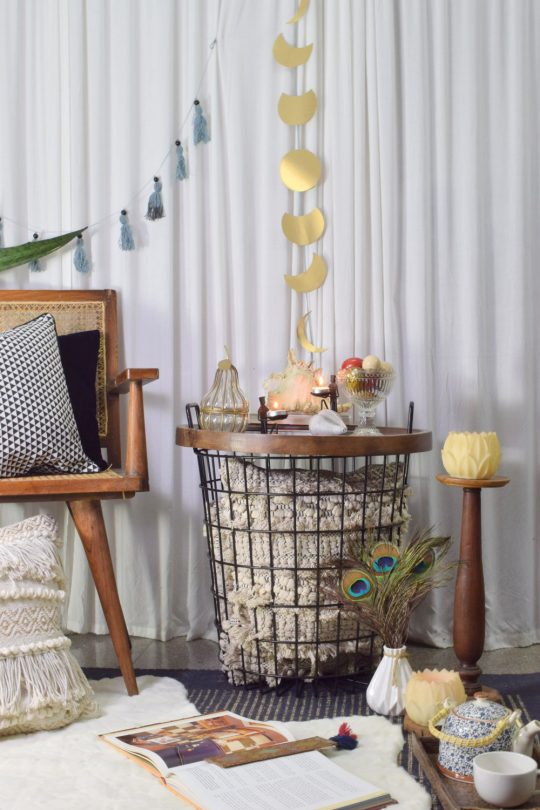
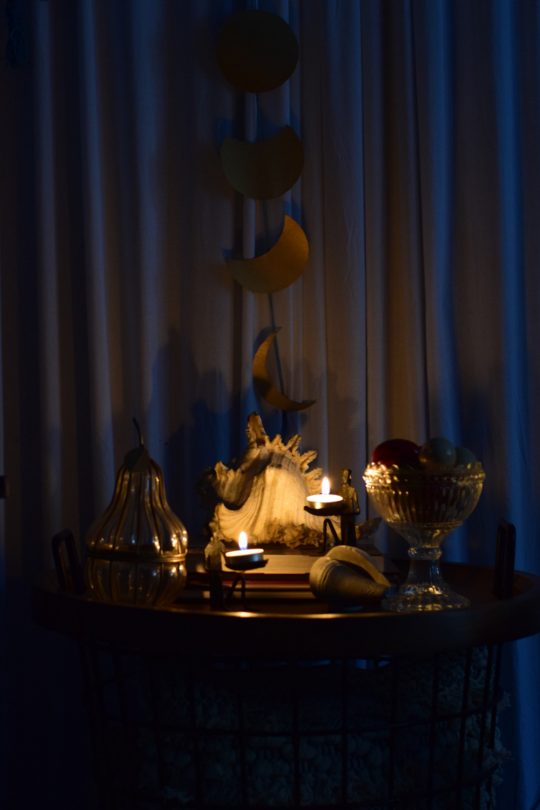
3. DIY Moon Phases garland
Moon phases is the different shapes the moon takes from new moon to full moon. Think of it as a cookie. The full cookie is a full moon. Then you take a bite, what remains is the next moon phase. Then you take another bite, the cookie gets smaller. when you’ve put the rest in your mouth, there is nothing left of the cookie, that is the new moon 😀
What do we need?
- Thick cardboard, color of your choice.
- A template to draw circles.
- Scissors (you should have seen it coming 🙂 )
- Yarn or lace to string it together
- hot glue gun
How we do it?
- On your thick paper draw a circle with your template. That is the full moon.
- Next, draw another circle and using the same template draw a small C inside the circle touching the side.
- Repeat two more times, each time increasing the size of the C inside the circle.
- We wanted to put the full moon in the middle and the phases on either sides. You can switch and put them at the end.
- Attach them to the yarn with hot glue gun on the back.
- Padma decided to add a gold tassel at the end. Hang it up.
- The gold paper plays with the light and looks magical. I want to repeat this with a metal sheet, no idea how i will attach it to a string, will figure that out. For now this will do.
It looks so gorgeous as a set up together. I am not sure how to wash the faux fur, but I am going to do some research and experiment. This ones going out to a living room makeover, so I plan to make one more for myself coz its the softest thing to do.
Leave a Reply