
")
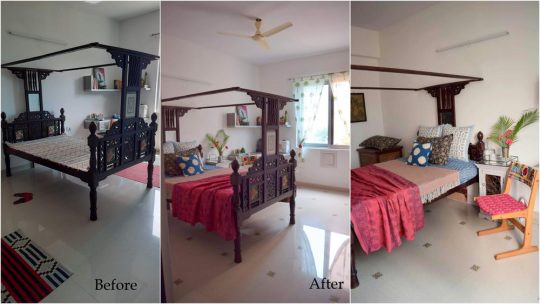
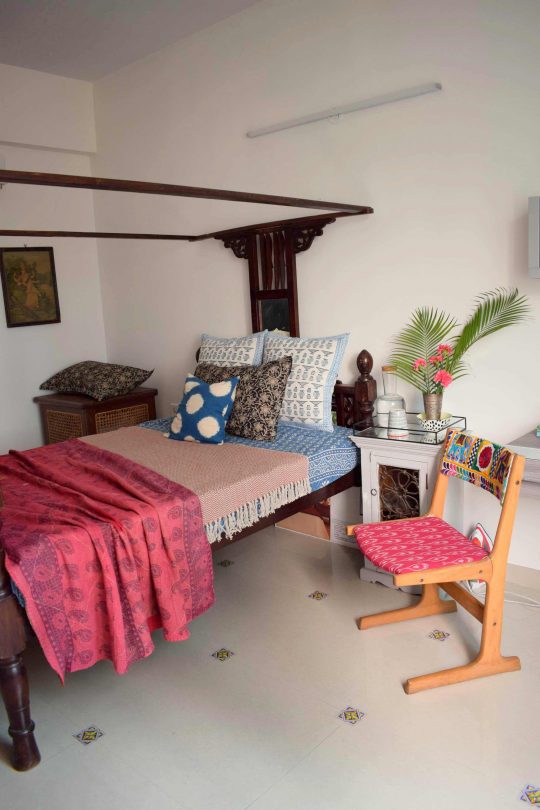
This post is about how you can change the look of your floor in ten minutes with floor stickers. Step by step of making sure they stick well and don’t peel off easily.
I realized that I have generated very less content for renters and there are constant requests for the same. So I am going to focus on renters for a while. Having lived in a rental for over a decade and managing to decorate every rental that I have lived in, it only makes sense that I share what I did and what more can be done.
So while doing research on the easy makeover, big impact kinds of things, I chanced upon this product on Amazon that I wanted to try. Peel and stick floor stickers! I am generally a little skeptical about stickers that go on the floor coz in India we have the sweeping and mopping happening every day and wet mops can take off anything stuck on the floor. So this DIY is coming to you after the project has gone on the floor and been tested for a month.
What you will need
- Stickers of-course! This is the product i used. (Linking here to another similar product) I needed 2 sheets. One sheet had 21 tiles.
2. An old credit card
3. A dry and clean mop cloth
How to apply?
- Clean your floors thoroughly. This is the most important step coz you don’t want any gunk on the floor that will stick to the adhesive. I actually swept the floor and steam mopped it twice. (Not taking any chances there!)
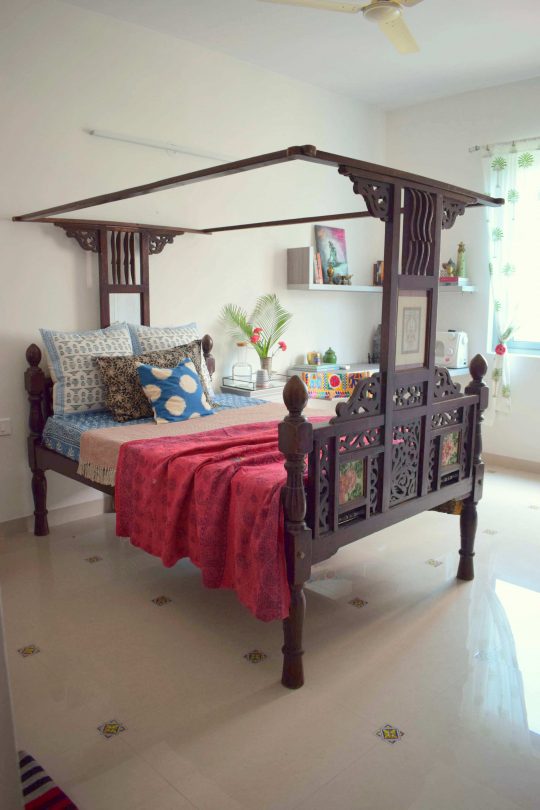
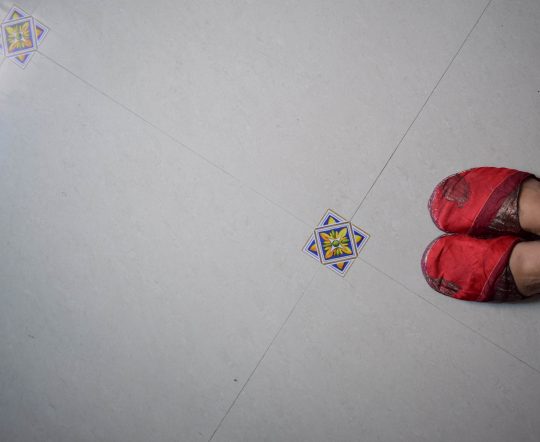
- Once the floor is dry it’s time to get to work. Wipe the area again with your clean cloth to get any residual dust out. Peel one sticker from the sheet and align it where you want it to go. It looks the best when it’s ideally in a place where 4 tiles meet. Be careful not to touch the adhesive too much.
- Place one corner down and then smooth it out with the credit card. Then slowly push the rest of the sticker on the floor and smooth it out. Watch THIS Instagram reel to see how.
- Next, use your credit card and push the sticker flat, starting from the center and moving towards the corner. No air bubbles should be present inside.
- You can also peel and reposition if you need. Just remember not to touch the adhesive too much.
- Repeat the process and put a sticker in every corner tile meet. Check if your work is symmetric.
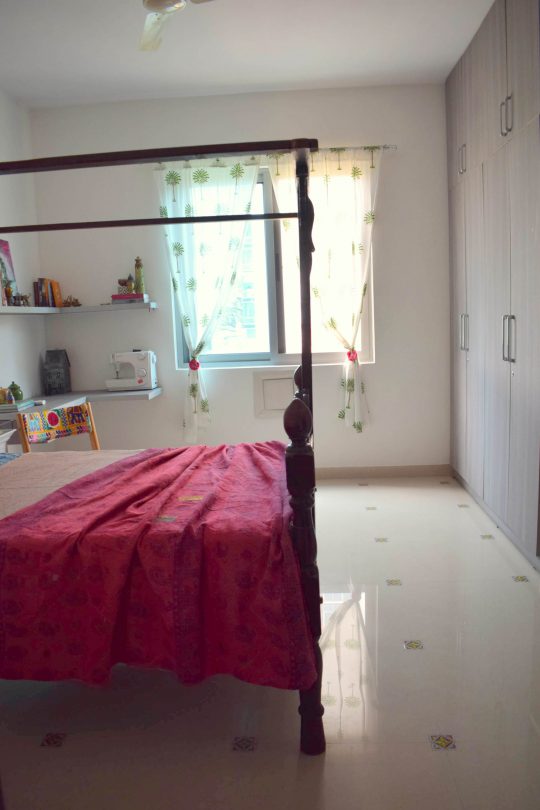
Its been on the floor for a month and it seems to hold on pretty well. The sweeping and the mopping has been going on, havnt had any issue due to that.
Some things I would do differently:
- Because the stickers come as rolled sheets, I should have flattened them out with some heavy books first before using them. One or two tiles that were curled on the edges, tend to curl when they are stuck on the floor. I may have to replace two tiles sometime coz the ends are curling continuously.
- One other thing that I would do differently is, use larger size tiles. This one looks great too, but I think a larger size will make it much more bright and vibrant.
I had to buy two sheets and I have a couple of tiles leftover from one. So count the number of tiles you will need and check the number of tiles per sheet and then place your order.
While I tried these tiles on the floor, Himadri used similar tiles in her kitchen backsplash. It’s been a few months now and she tells me it’s holding up quite well. Click HERE to have a look at her Instagram profile.
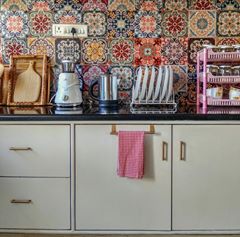
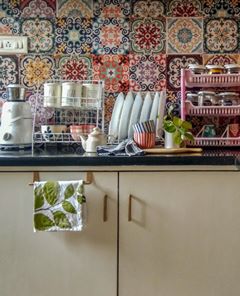
These Spanish-style tiles can brighten up any boring rental tile walls. The sellers on Amazon claim they are waterproof, oilproof and can be used in bathrooms and as kitchen backsplash too. Let me know if any of you guys have managed to use them in your bathrooms and how are they holding up. (Click on the image if you want to see them on Amazon)


A quick reminder, the HOME Styling Techniques 101 course is available for 999/- till July 31st 2021. 30 recorded video lessons and a ton of learning on decor. Click on the image for more details.

Leave a Reply