

In this post, I will tell you my experience of how to apply gold leaf in home decor articles. Dos and don’t and also link the products I have used. It’s an extremely easy process and anyone can do it, so stay tuned.
I have been seeing Shorts and Reels about people using gold leaf on art and on walls and one random day I decided to buy some on Amazon. The fact that it goes on with glue and gives a very wabi-sabi look is something that I am drawn to, so it was worth a try.
What is a Gold Leaf?
Gold leaf is a fragile sheet of gold that is super fragile. There are two types of gold leaf. One is with real 24-karat and 22-karat gold and then there is the imitation one (just like in jewelry, real and artificial). Some traditional Indian art like Tanjore paintings, Mysore paintings, and some Pichwais, use gold leaf to enhance the look of the painting and make it look rich. The 22K gold leaf is also used on sweets and paan to make them fancy.
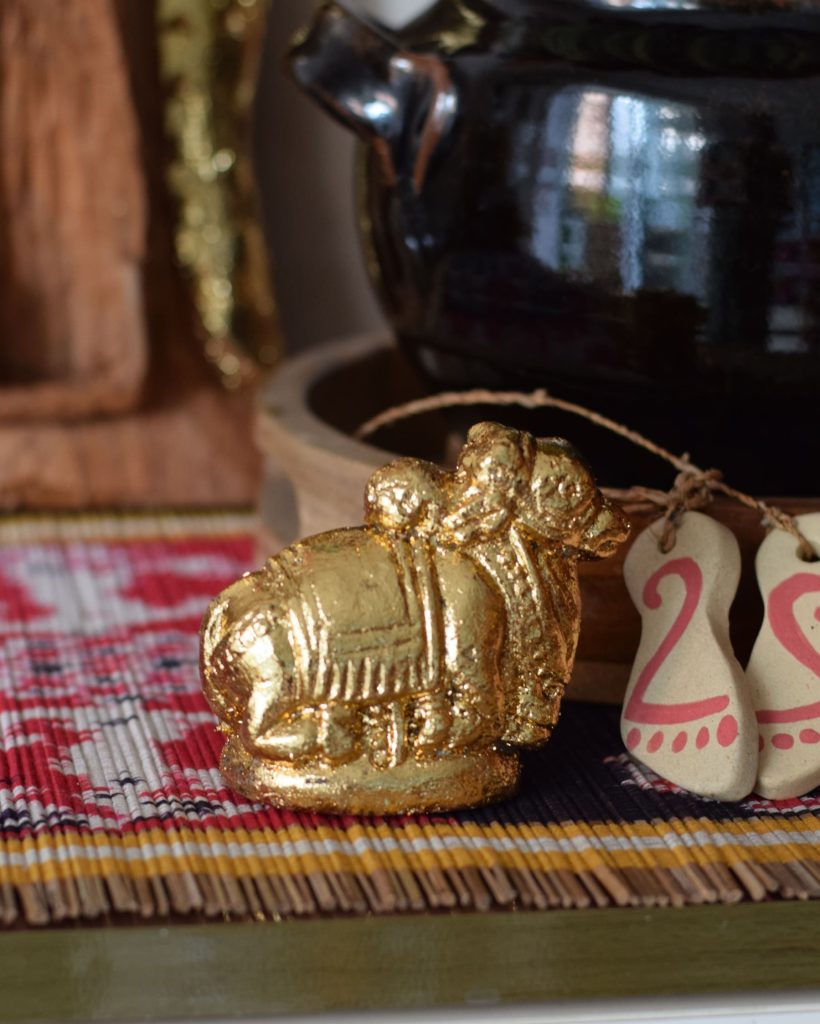
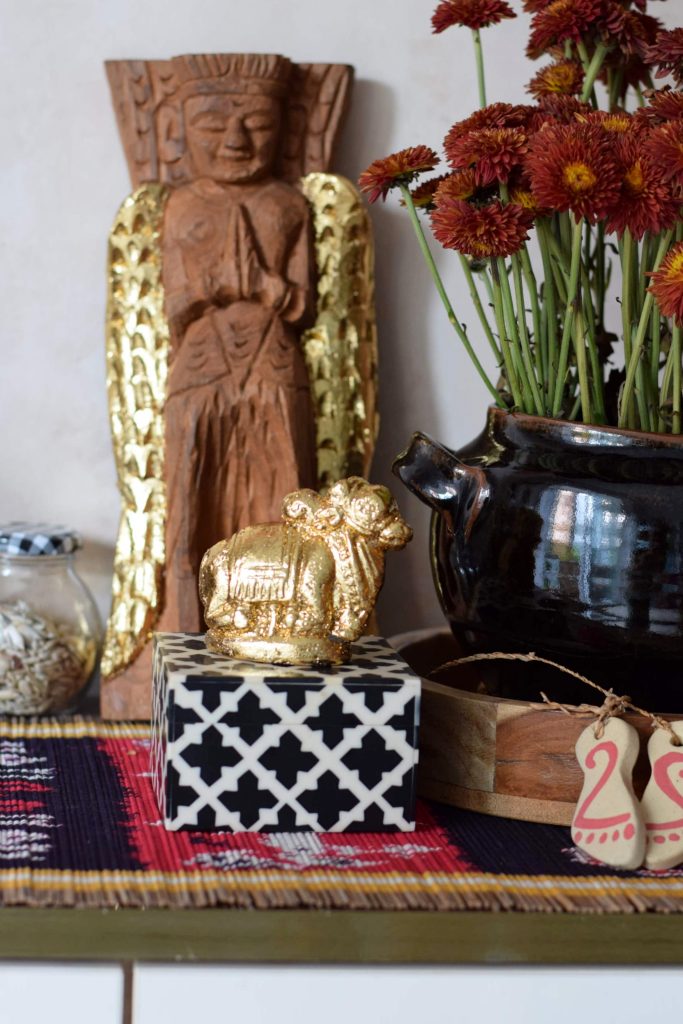
Some of the antique wooden statues were also covered in gold leaf and the process of that is called Gilding.
![]()
History of Gold Gilding in India
From what I have read online, the first form of gold gilding was found in the excavations of the Indus Valley civilization, both is Mohen-ja-Daro and Harappa. Over the centuries gold gilding has been seen as a symbol of opulence, wealth, and prosperity. Wooden furniture. statues and art were covered in gold leaf. In some of the palaces. you can see gold being used in the fresco on the walls. Wealthy households sometimes saw gold-gilded wooden toys. You can see a lot of gold gilding in temple furniture, palakki, seats, etc.
The real gold leaf does not change color and will remain rich gold when it’s used in art and sculptures. Take a look at some of the old Tanjore paintings and they will look vibrant even with the aging. While is imitation one will become dull and can also brown over time.
For a beginner like me, the imitation gold leaf works just fine. I was not going to try and experiment with real gold leaf. I did some searching on Amazon and ordered this one. The gold leaf also needs its glue which is called the gilding glue. You can find them HERE and HERE. Mine cost 650/-, if you want a cheaper option check here.
Gold Leaf
When it arrived, I was quite skeptical. It looked pretty shady. The packaging looked weird and the glue did not have any branding. Anyway, I went on a crazy gold-leafing spree, because new material needs to be tested in every which way possible 😀 So let me get into it.

What material can you gold leaf on?
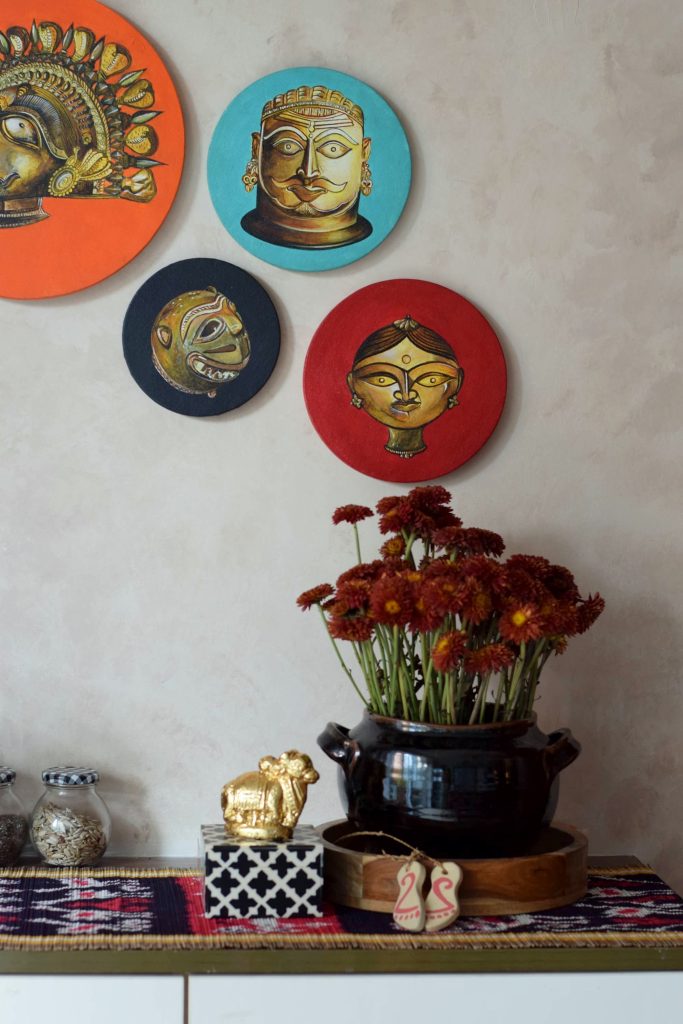
Pretty much anything. Terracotta, metal, glass, wood, paper, wall, pretty much anything. The process of gold leafing is a very therapeutic one and you can feel the connection you are having with the piece you are trying to transform. So, in my opinion, one should gold leaf something that they plan to keep or gift, don’t gold leaf random shit that you won’t like. (definitely a big no to plastic items)
Here is how to apply Gold Leaf on a Home Decor Item.
- Clean the item thoroughly. If it is a heavily carved piece, get into all those nooks and crannies where you want the gold leaf to come. Wash it in water if needed and dry it completely before starting work.
- Pour some glue on a plate, as little as you want. If you have multiple items to do, then consider putting them in a small restaurant take-out box that you can put the lid on.
- If you are doing one section, tape the edges to get a crisp line.
- Use a brush and apply a very thin coat of glue on the surface you want to gold leaf.
- Wait till the glue is dry to the touch. This is a very important step to get a good finish on your finished product. When you touch it, it should feel tacky but not transfer onto your finger. Then it is ready for the gold leaf.
- Next use the gold leaf, with the butter paper and gently press it down the area where the glue is applied.
- Use a dry foam brush or regular brush to tap and push the leaf gently into the nooks and crannies. Continue the process until you have covered all the glue surfaces.
- Let it dry for another 20 to 30 minutes.
- After 30 mins, use a brush, to brush the excess gold leaf off. You can collect these gold leaf bits and store them for a different project or to cover in places where the gold leaf did not get set.
- Let it dry overnight and then use a dry soft cloth to remove the last bits of gold dust.
- You can take it a step further and seal it with water-based polyurethane. I want mine to age and show wear and tear for an antique look, so I did not bother sealing anything.
Here are things I learned during the process
- The gauge of the gold leaf is very thin. Attempting to cut the gold leaf was a crazy process. I tried cutting it with scissors along with the butter paper underneath it, and it had its own mind, sticking to the scissors and tearing however it wanted to. So I gave up. I found it easier to paste the entire sheet on the surface of the piece and then tear the excess with my hand and position it in the next section. If you watch the YouTube video you will know what I mean.
- The glue is extremely tacky, if you get a thick layer on the piece, it will take a very long time to dry. If you get some on your fingers, the gold leaf with stick every time you touch and tear it off.
- The blush applicator brush from the makeup section works well if you are working on a flat surface.
- You apply the gold leaf and push it in places where the glue is, let it dry for an hour or so, and then remove the excess.
- You can store the gold dust and use it in a different project.
- The gold leaf will take about 2 to 3 days to fully cure. If you are going to make something that’s of utility, remember to set it aside for those many days.
All in all, I am hooked on gold-leafing. I am not sure if I will buy the 24k gold leaf and cover something, but I am going to gold leaf quite a few things around the house. Do let me know what I should try next.
Also, here are a few of my digital products I think you will love.
- The Home Styling Techniques 101 for Beginners – Online Course – CLICK HERE
- Furniture painting course for Beginners – Online course – CLICK HERE
- 101 things to know while planning your home interiors – E-book – CLICK HERE
Leave a Reply