

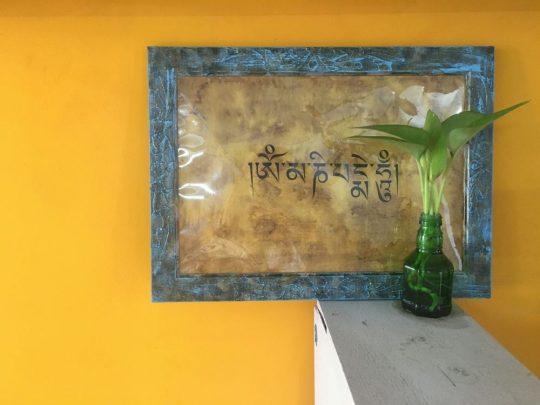
This post is about how you can turn an ordinary picture frame into an ornate one with details.
When I posted a question on what should I DIY next, someone said antique frames and I suddenly had this idea. Also, the antique finish paper created in last weeks DIY needed I have been dabbling with stencils and stuff for a few months now. I thought why not use the same idea and see if I can do something smaller.
For this project, you will need
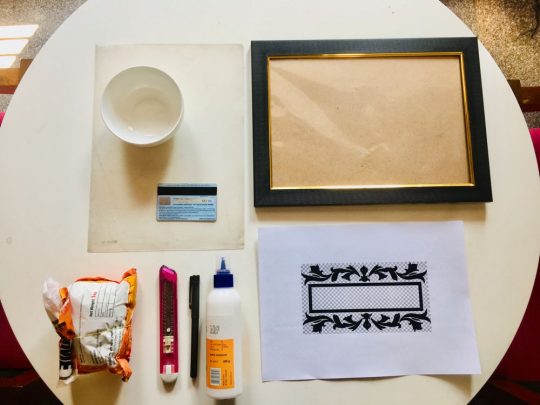
- A picture frame that is reasonably wide, this one is 1 inch wide
- Tile grout (its a super hard substance, you will use very little)
- Stencil making material: old thick plastic file folder, marker, knife
- White glue (Fevicol MR)
- An old discarded credit card or putty knife
- Paint for finishing. I have used 5 colors here.
- Brush and sponge
- Some water
Here is how to go about it:
- I found this website that provides some free resources for ornate stencils.(just cant seem to find that website for the moment, will update here once i do) I printed this frame stencil out, traced it on the old transparent file folder, and cut the stencil out. I made sure the design I was working on was cutting out, fit within the frame.

- Check the positioning that you want to go with before you go to mix the texture powder. Once you have figured out, tape down the first position, before you go to the next step.

- I mixed two spoons of tile grout with some fevicol and water almost 1:1 ratio, until you get like an idly batter consistency. Not too runny, not too thick.
- The mixture thickens soon, so you have to work quickly. Hold the stencil in place, scope out a little texture paste from the bowl, drop it on your stencil and gently drag it to spread. I dont know how else to explain that, just watch the video please 😀
- I thinned the grout paste a little after finishing the stencil work and used a brush to dab on the corners to get a rough bumpy texture.
- Let it dry. Sand rough edges if any. (I just plucked out a couple of pointy peaks)
- It a good idea to let it dry overnight before you apply the base coat. I have used artists acrylic in grey.
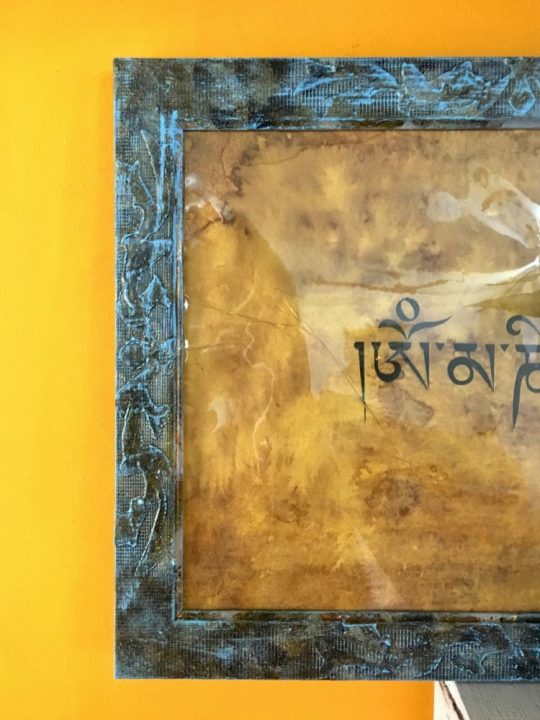
- Once that was dry, I used a tiny bit of black, brown and antique bronze put side by side, one spray of water on it and dipped a sponge and created a layer of texture on the frame. This will give it the rusty metal kind of look.
- Once that dries, I dry brushed some blue on it. Here is a blog post for dry brushing.
Here, Watch the video!
I am not super thrilled with the outcome of the DIY, but I love how the videos turned out, I decided to publish it anyway. Not every DIY turns out great but I think most importantly, its necessary to share the ones that did not turn out very well coz if you are a DIYer, a lot of the projects dont turn out well. But sharing only the ones that have turned out well gives people the impression that only a select few can have a DIY flair. So Yes!
Also, taking this opportunity to announce my non DIY workshop happening next weekend. I am doing a Instagram for Business workshop teaching people how they can use instagram effectively to market their brand. If you are an Entrepreneur, blogger, artist or craft business working alone, this is a perfect workshop for you. You can book a seat here.

Leave a Reply