

This post is about a DIY method I used to make multi-coloured block print quality upholstery material. Also introducing to you paints that don’t make your fabric stiff and crunchy.
This has been the most requested DIY ever!
You guys have seen me do this on wood and on walls and I must have answered more than a hundred people wanting to know details about when I posted it online. Every second message I got said “Hey, have you tried it on fabric?” or “Can you please do a fabric DIY with this!” Well, I couldn’t hold on to that curiosity for long, so here it is! And since this is already hugely popular, I thought why not try my luck and enter this in the and show off my skills.
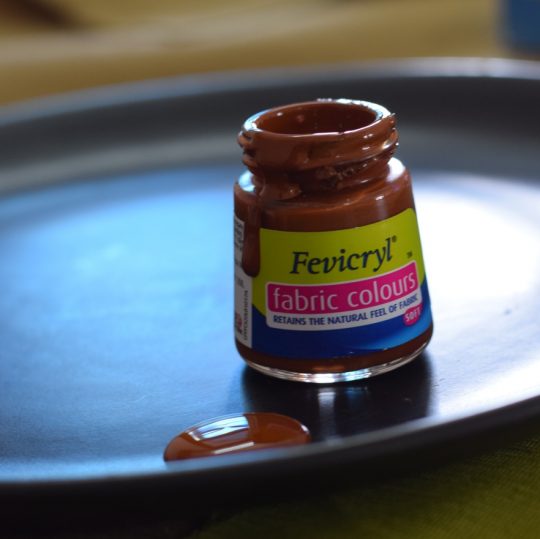
Artisanal hand block printed upholstery material is hard to come by or comes at a premium. The more colours it involves, the more expensive it gets. Regular acrylic colours make the cloth stiff and will stick when it comes in contact with skin. I discovered Fevicryl Fabric Colours that almost has a dye like quality and does not make the fabric stiff, retaining its natural texture and softness. You don’t need to iron the back of the fabric after painting, and you just have to wait for 7 days before the first wash.
I have tried painting directly on fabric with a paint brush and also tried to get an ombre effect with these Fevicryl Fabric Colous and I love it! Here is a simple DIY with which you can make your very own artisanal block print material for a fraction of the market cost and one that is absolutely unique and stunning.
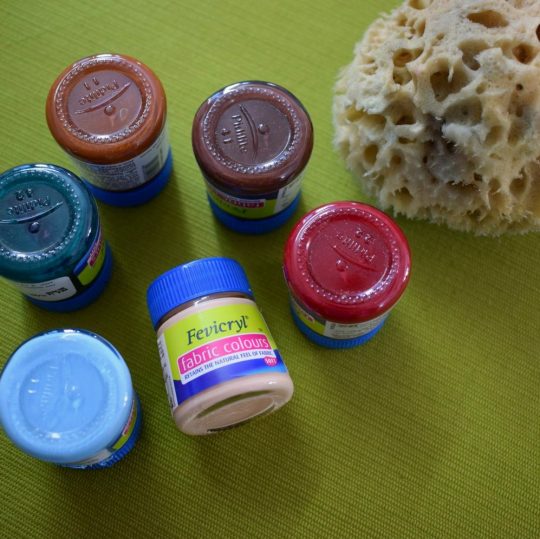
Here are the supplies I used:
- Thick upholstery material in the colour of your choice – plain fabric works fabulously well. A continuous background pattern fabric will also do.
- Fevicryl Fabric Colours
- A block print design stencil (I took inspiration from traditional prints)
- Transparent OHP sheets
- Some sponge
- A sharp paper knife to cut the stencil
- A chair which needed to be upholstered
- A plate to pour the paint in
- Water to wet the sponge
Since I can’t draw to save my live, I got a friend of mine, Girija to draw this design for me. Then I split them into three separate patterns for stencils (Stem outline, Stem veins and Flowers and Buds) and cut out the pattern. If you want to read a detailed post on how to create multi-colour motif stencil click here.

Once you have the stencils ready, it’s time to get printing. Here is the step by step process of how to:
- I identified the chair that I wanted to re-cover and cut out that much fabric. If you haven’t reupholstered anything before, I have a DIY on the blog for that one too. Click Here for the DIY Upholstery Post.
- If you are the kind who prefers to keep the upholstery till it falls apart and get them deep cleaned year after year, I suggest you wash the fabric to remove any starch to make your print 100% permanent. I change my covers every year or whenever I fancy, so I skipped this step.
- I ironed it well to remove all the creases out. Since I was printing on fabric and some paint is bound to stick to whatever is under it, I made sure I had another old bedsheet below. I placed the first stencil (the stem outline) in the position where I wanted it to be. Since mine is a fairly large print, I wanted one right in the middle of the seat.
- I poured some Burnt Sienna Fevicryl Fabric Colour on a plate – this is important because you can control how much paint comes on to the sponge.

- I then wet the sponge and squeezed it tight to remove all water. This is also an important step, else a dry sponge will suck the moisture from the paint and there will be a ton of paint wastage.
- To ensure that the stencil stays in place while painting, you can tape it to the fabric with some cellophane tape. If you have a steady hand, you can skip this.
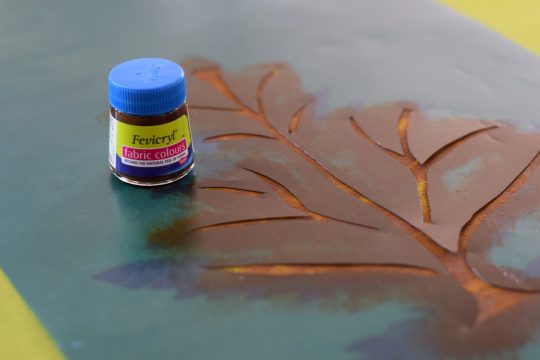
- I dipped the sponge in the paint and dabbed along the borders of the stencil first and then did the middle. I did not want a flat solid colour, I prefer a little bit of a texture so I did not go over the same place again. You can see what you like and decide accordingly.
- Let it dry for five minutes.
- Then position the next stencil which is the inner veins. I chose a Vandyke Brown for this one. Repeat the dabbing process. The motif looked good enough to be made final, but I wanted to go ahead and do the flowers too.
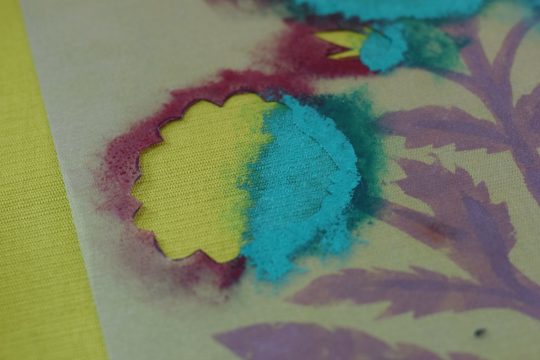
- After letting it dry for another five minutes, it was time to position the final stencil. Since I had done a test print and realised I wanted a slightly light coloured flower, I chose to mix two colours to lighten the effect. For a lighter green, I mixed Dark Green and Sky Blue for the stalk and for the flower I mixed Maroon and Flesh Tint. I did not mix them fully to a solid colour, you could still make out some light dark shades.
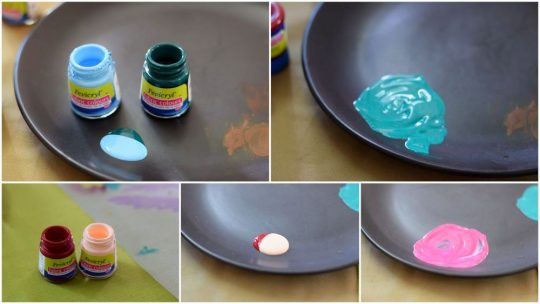
I first dabbed the green for the bottom of the flowers and waited five minutes before I dabbed the light red.

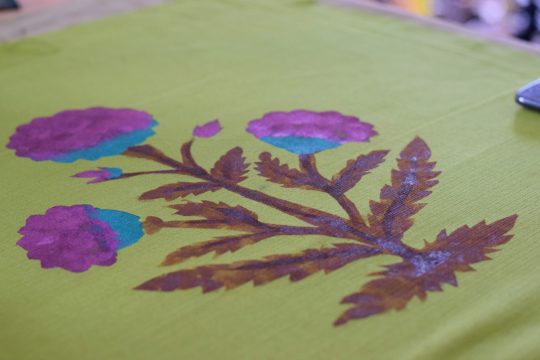
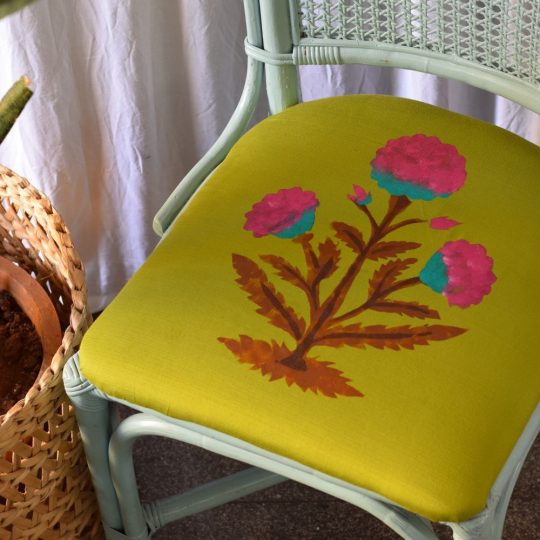
REVEAL TIME!!! Honestly, I was a little disappointed when I saw the final result, but that was just temporary because the paint was wet. Once the paint was dry, I covered the chair seat and fell in love with it.
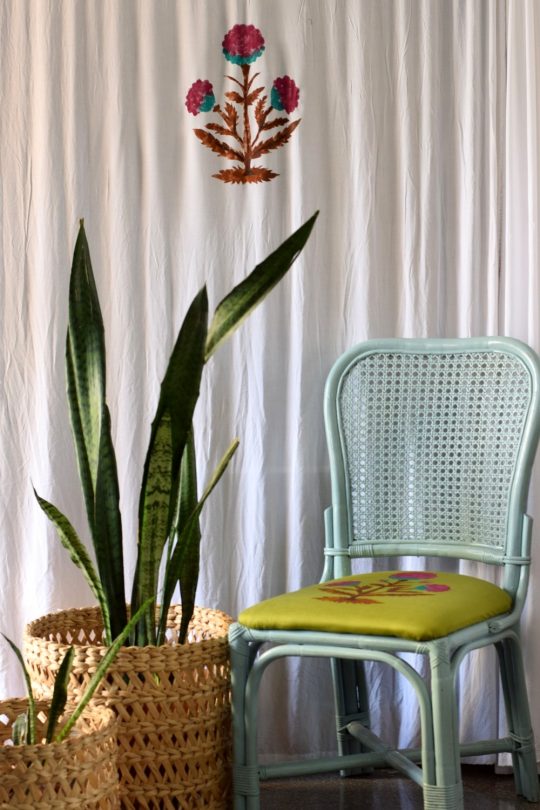
For someone who loves white, I couldn’t help but wonder how the colours will show on a white background and had to try it out. To tell you honestly, I love both and I can’t decide which one I like more.


I am entering this in the #FevicrylKalaStars contest on Hobby Ideas India’s website. If you want to take part too, read the instructions below: Here!
- You simply have to paint on any fabric of your choice using these new Fevicrly Fabric Colours (curtain, scarf, cushion cover, bedsheet, kurta, saree, t-shirt etc.)
- Click an image of it and upload it on the Hobby Ideas India Website – make sure that the blue cap paint bottles of Fevicryl Fabric Colours are visible in your image
- Share your entry link with friends and family to get maximum votes. Contest ends on October 20 so hurry, participate now!
With this new range of Fevicryl Fabric Colours (over 30 shades), the possibilities are endless! Have you tried these colours yet? Let me know what you made. Stay tuned for another fabulous fabric painting DIY.
Leave a Reply