

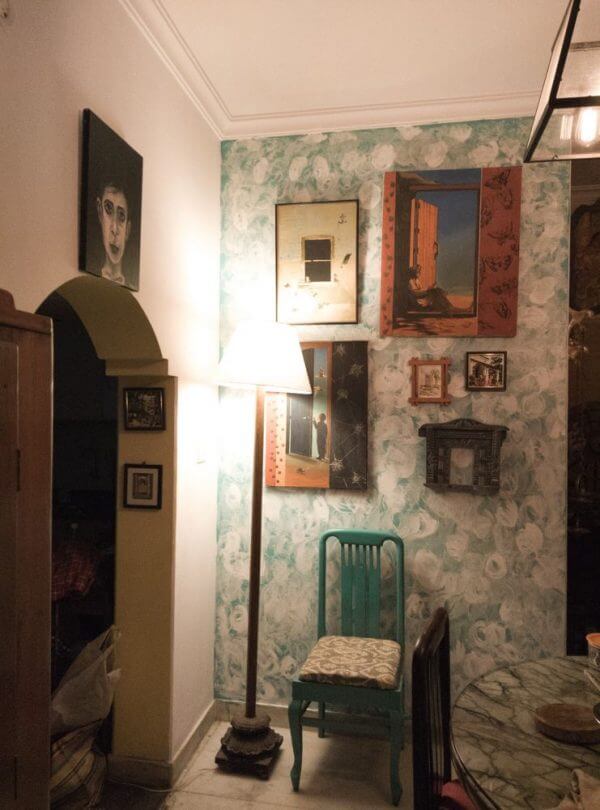
This post is about how I achieved the rosette textured wall finish on my dining space wall. I learnt the basic technique from my friend Girija while I was assisting her with a mural, then I added my own touch. I wasn’t planning on turning it into a blog post, so some intermediate pictures are missing, but I’ve tried to be as detailed as possible.

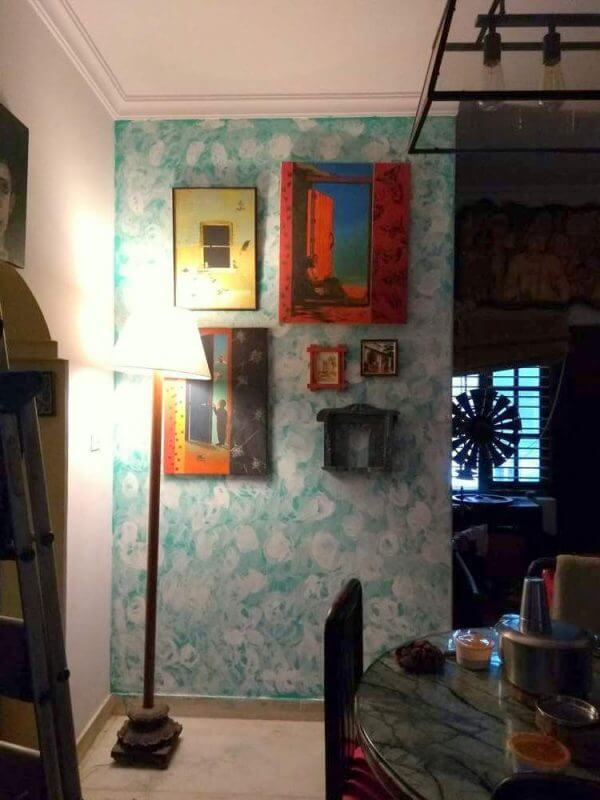
It’s quite funny that I made a post on how to paint your own accent wall a few years ago and this is the wall that was featured on that post. If you want to read how you can paint a wall from scratch this is the blog post that you can go to. Painting the wall in solid teal, I think took me about two hours. And the texture on top of it which looks like a difficult process took me less than an hour. Its funny that these two processes are several years apart.
What you will need for this DIY
- A 2 or 3 inch paint brush (make sure it is an old one because you may not be able to use it again for fine painting)
- A tiny bit of contrast colour paint to make the texture (I have used Asian Paints wall emulsion here but since you need very little you can also use artists acrylic)
- Some water
- A waste rag just in case
And we are ready to start!
- I removed all of the paintings on the wall and dusted it with a microfiber cloth. Then I wiped the whole wall with a wet rag. Now this step is very important since I was painting a white texture, I did not want any residual dust coz it can turn white texture to Brown. Eww!
- Once the wall was dry I was ready to start painting.
- I put some Paint on a plastic dish added some water and just let it be. I did not mix the two together this way when I dip my brush I get a little bit of paint and a little bit of water on my brush. And when I start painting 1 get different shades of the color.
- This is how I painted the texture: I dipped my brush in the paint, removed the excess paint then made circles on the wall like a spring as long as the paint lasted on the brush. I got a bright white circle in the beginning which gradually thinned down because of the water on the brush to a blurred texture. Then I simply went back dipped my brush again and started the process where I had stopped.
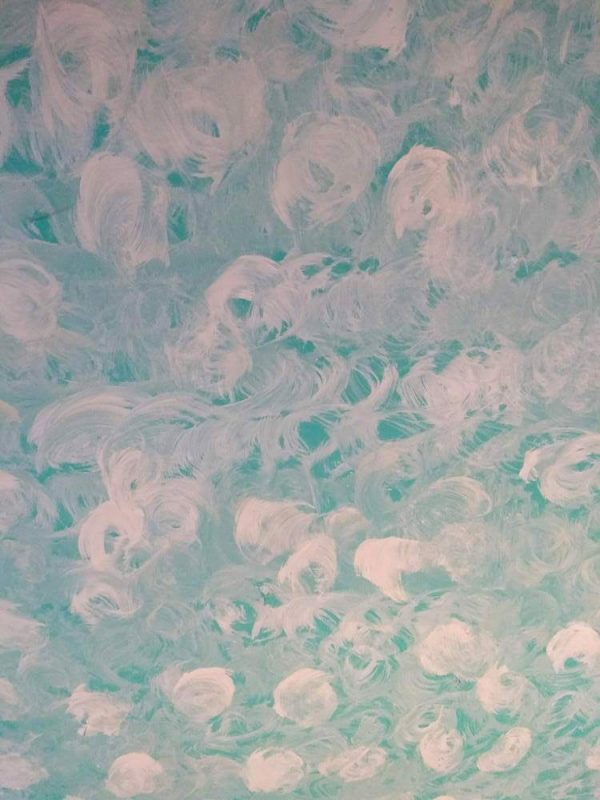
- In every DIY project there comes a stage where it can look extremely ugly and you start second guessing yourself. It was that stage for me here for this DIY. Now since I do this all the time I know that beyond this ugly stage there is a beautiful product and I don’t panic. If you are on a DIY project and you think you ruined it completely then I suggest you just keep going and trust the process.
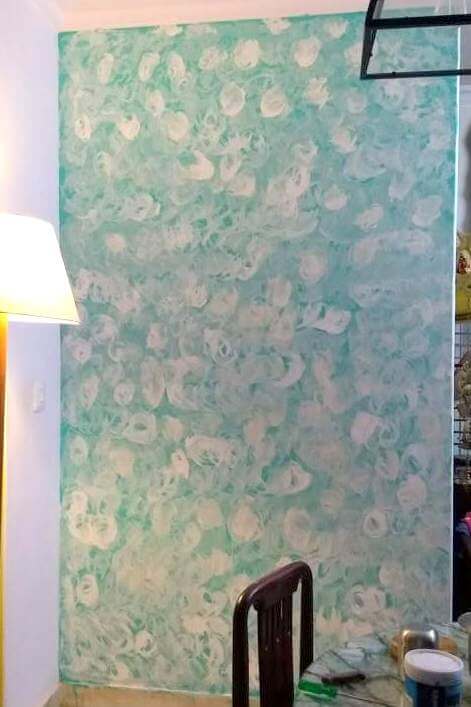
- Once I had completed the entire wall, l took a few steps back to look at what I had achieved. it was looking good but I somehow felt that it was a little incomplete, so I went back and made dark white circles in a few places where there was too much faded color.
I wasn’t really planning on turning this into a blog post, and did not quite document the process of how it looked before touched it up. If you are going to attempt this DIY texture I suggest you trust your eye. I know some of you may argue that its easy for me to do it but you cannot but you know what? I am not an artist so if I can do it so can you!
If you are still not getting it right then take a picture and again trust your eye! if you still can’t figure it out show it to a friend, or send me your DM on my Instagram. I try and reply to all messages as long as they not the will you friendship me kind.
That’s it! Since it is a texture, it doesn’t take a long time to dry I just had enough time admire it for a while, wipe all the paintings that I had taken off and hang them back. So I guess it took about 30 minutes for it to dry.
I must admit, I did not expect it to look so good at all!
Would you try it?
Leave a Reply